The basics of Editing your customer notifications
Communication with your customers is a great way to build trust and to keep them coming back. Shopify provides a slew of automatic emails that can be sent to the customer when something with their order or checkout cart happens. Can you imagine having the work that would be required if you had to do it all manually?
However, when automation is involved that also means that there is code involved. Since these email notifications are tailored to a specific customer, items, and other details we can’t just send out the same text every time. This is where the code comes in. This can be a bit tricky for first time users, but with a little explanation it’s really less difficult than it seems. Let’s take a look at the order confirmation email template.
First we need to find the customer notifications in our Shopify admin. From your admin page select Settings > Notifications > Customer notifications. In that section you will see a list of notifications a customer can receive when a specific action happens. We are going to look at the most common one which is “Order confirmation”. When I click on order confirmation I see a lot going on and it’s a little overwhelming at first glance. Let’s break it down.
Here is the first thing that I see.

Email subject is going to be what the customer sees as the title of the email they receive when they see it in their inbox. The question you might be asking now is, “Why is ‘name’ inside of those curly brackets?” Whenever you see text inside of two curly brackets like in the image above, that means a liquid variable is being used. The term “liquid variable” probably creates more questions than it answers, but put simply, a liquid variable is a placeholder for until specific information can replace it.
In the example of the email subject, when the order confirmation email is sent the customer isn’t going to see “Order {{name}} confirmed”, they are going to see something like “Order #9999 confirmed” in their inbox.
So how can you know what information is going to replace your placeholder? Fortunately, Shopify has created a liquid variables for notifications reference sheet. There are a lot of variables that you can use so I recommend spending some time on that page becoming familiar with what is possible.
If we scroll down on that reference sheet we can see that “name” when put inside of two curly brackets will do the following:
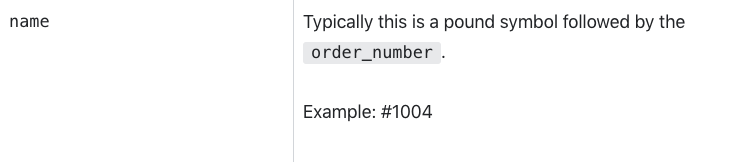
Now, say we want to add a thank you to our email subject but we also want to personalize it to the customer. We would find the liquid variable that would allow us to access the customer’s first name and then add the following to the email subject box.

Click “Save” and now when the customer receives their e-mail it will look like “Order #9999 confirmed – thank you Bob!”
Congrats, you’ve just successfully used code to make a change to your order confirmation e-mail. Always be sure to either view a preview or send yourself a test e-mail after making changes to make sure everything looks right.
In Part 2 we will begin to take a look at the code in the body of the email confirmation. Until then, happy coding!